As soon as I saw Sarah Jane's Out to Sea fabric, I pinned a picture of the collection and knew that I wanted to make a big quilt for my daughter's bed out of it. I loved the color way with the navy blue and hot pink because the pink worked perfectly with the princesses already on the wall and I'm trying to impart my love of navy blue to my daughter.
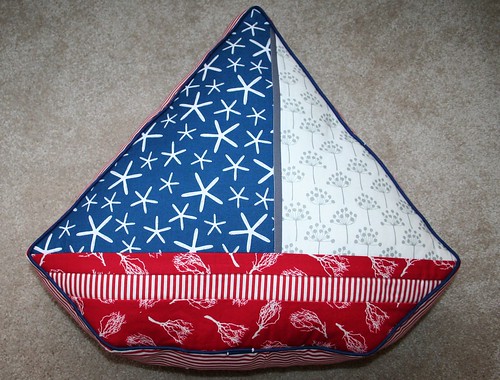
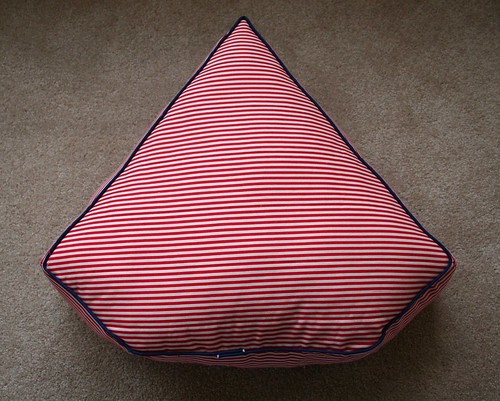
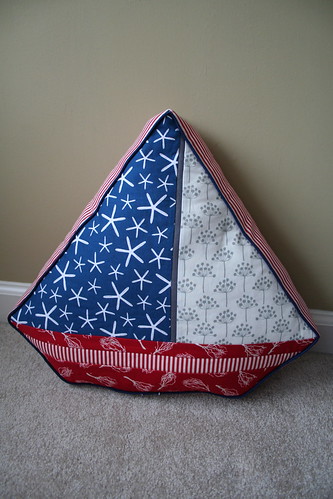
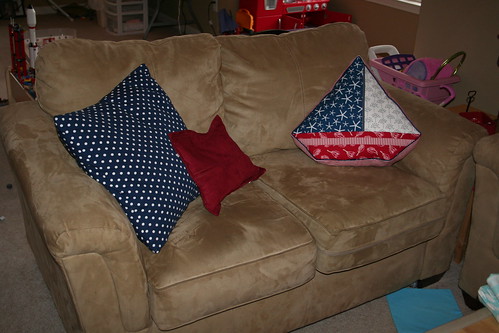
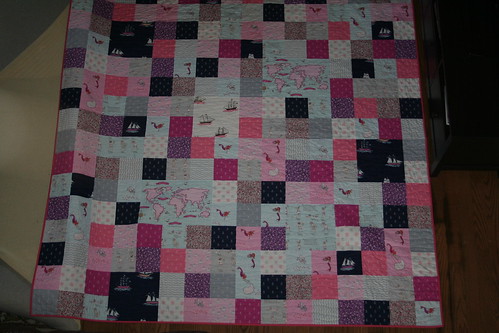
Before I could even get my hands on the fabric, I searched the internet for inspiration on how I would put the quilt together. I decided on a patchwork quilt with some larger panel pieces added to it. I love the world maps and I knew that I wanted them to be somewhat of a focus in the quilt. (I love them so much that I have a few panels still waiting to be turned into pillows for this bed.)
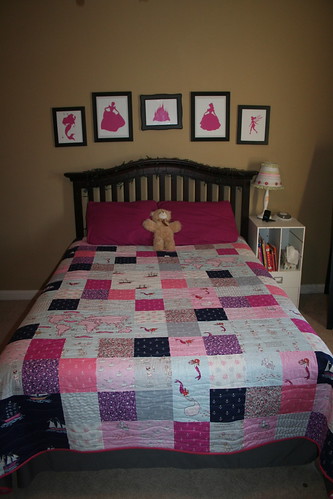
So far this is the largest quilt I have made. It comes out to about 88 x 88. It fits perfectly on her full sized bed and if we ever upgrade to a larger bed for her I think it will still work well.


I had two ideas for the quilting. One was diagonal lines through the blocks and the other was wavy quilting. I actually quilted a diagonal line halfway through the quilt to see if I liked it and then a wavy line. I think I would have liked the diagonal but it seemed like a lot more work and after finally having it all pieced, I didn't have the patience to mark my diagonal lines on such a big quilt. So,
I quilted it with wavy lines from Bijou Lovely's tutorial. It seemed appropriate considering the nautical theme. It was tough going…my tension seemed to get off and I had to redo the first couple of waves. And if there's anything that makes me procrastinate on sewing something, it's knowing that I have to pull out the seam ripper. So the quilt sat for quite a while until I finally decided to get on with it!

The other hard part of this quilt was taking pictures! Don't mind the carpet that I tried to roll out of the way in the picture below. I was able to stand on the balcony in my house and take a picture looking down on it. I tried to hang it from the balcony but I didn't have strong enough clips to hold it up.
The backing fabric is a dark grey sheet that I got from Target and the binding is a solid coral color that matched the coral blocks in the quilt.
This will probably always be one of my favorite fabric lines and I'm so glad I was able to turn it into my vision for a bed quilt and that my daughter is snug and cozy under it each night! Now I just need to get rid of some brown curtains that don't match (not shown) and sew up those pillows.
Thanks for stopping by!